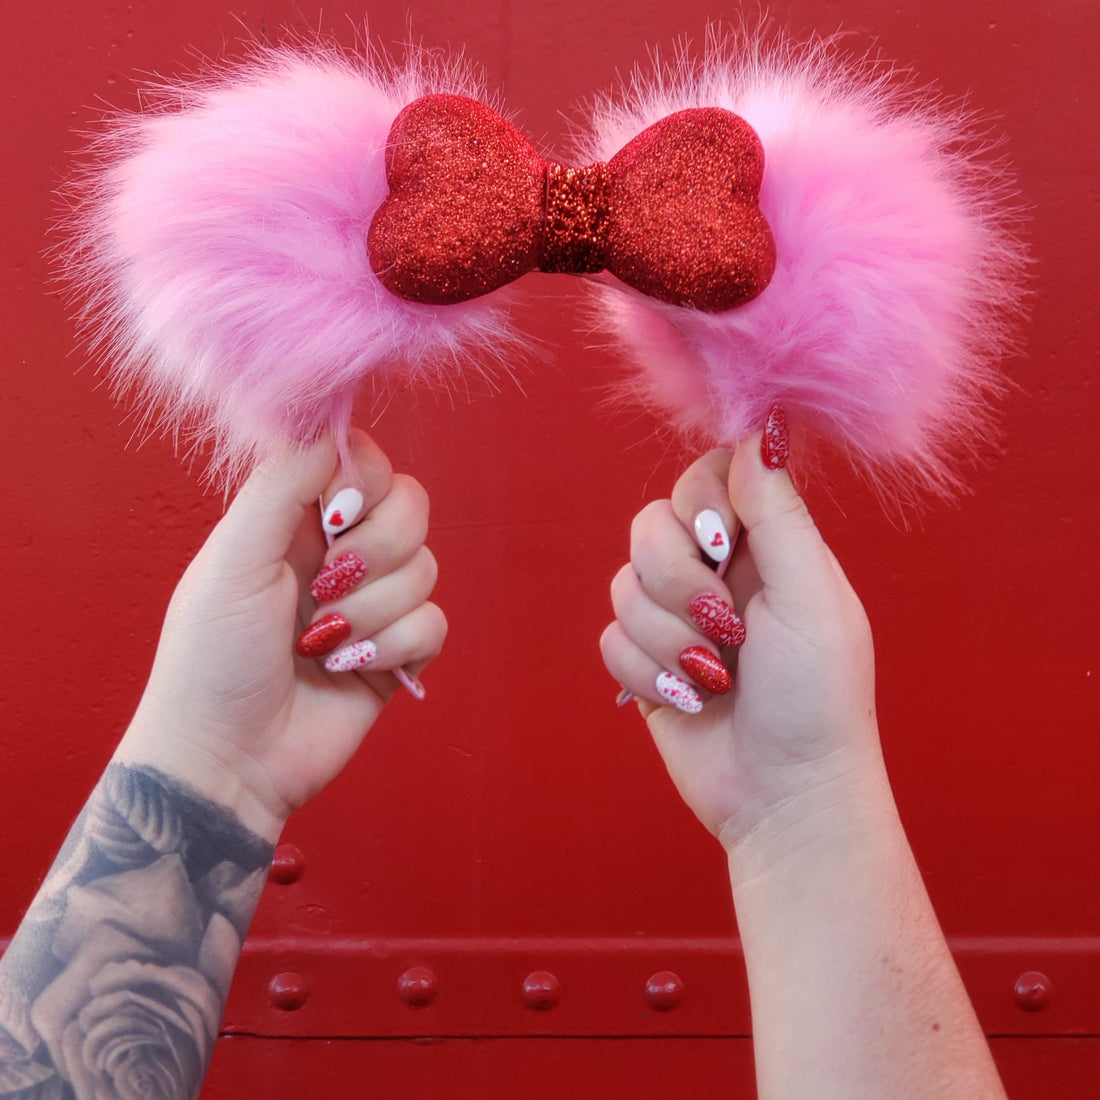
Extra, extra, read all about it. Am I the only one who likes me to be extra during the holidays?? Being extra can be pretty expensive, so if you are like me then you find the loop hole for making it affordable. In this case, a DIY. I was immediately drawn to these fur pom pom's from Joann's so I snagged them for this simple mouse ears DIY. The pink ones were calling my name and what do you know, it's February, lets make them Valentines ears!

Here's what you need:
-2 fur pom poms
-A headband
-Scissors
-Styrofoam glitter hearts
-Toothpick
-Glitter red ribbon
-Hot glue gun
Some tips to help make these ears easier to make!
-Make sure your pom pom's have an elastic of some sort to make them sturdier and easier to attach.
-Make sure you get a thick headband so there is more room for gluing the pom poms.


Slide the pom poms onto the headband and gauge where you want them to sit on the headband. I took a pen and marked the spot where the bottom of the pom pom meets the headband. Mine was approximately 5 inches from the end of the headband.


Next slide the pom poms onto the headband but leave enough room to glue the headband without accidentally gluing the fur. I double banded the headband so that it would be sturdier. If you have a thinner headband consider wrapping it around a few times so its somewhat tight.


Next, slide the pom poms onto the glue and held down for 30 seconds. YOU NEED A LOT OF GLUE. Probably a few tries too because fur has a lot of layers.

Repeat these steps with other side and there you go, some fun mouse ears for Valentines Day.

But wait there's more....I wouldn't be true to myself if an extra factor wasn't added. Truth is, this was the end of my DIY, but then I found some hearts and had to add to it. So here it goes! Next, grab some Styrofoam hearts. This can be purchased at the Dollar Tree or Hobby Lobby. I purchased mine last year from Hobby Lobby when it went on sale. Push the toothpick at a slight angle, so it recreates half of "Minnie's bow." Leave about half of the toothpick sticking out and then added the second heart to it.


Then, grab the glittery ribbon and loosely make the center of the bow, so it doesn't crease.

Glue the backside of the hearts and attach both ends in the middle.

Now more glue! WE NEED LOTS OF GLUE. Add glue to the backside of the hearts.


Then, attach it to the ears. The bow is should be floating since it doesn't fit in the center of the ears. I weaved the glue in between the fur and kept applying pressure to the hearts, until it seemed secure. And presto! Now go be your extra self;)


Hope you enjoyed this simple DIY! If you want me to continue providing blog posts, please comment!! Every comment helps motivate me into writing and any suggestions for future blog posts would be appreciated!!
XOXO, Jasmine
5 comments
Obsessed. These are adorable!!
Where did you find those Pom poms? I was thinking Clairs might have some fun ones. I have seen some DIY Pom Poms with yarn- I wonder how that would work for this. Thanks to the heart idea- I’m going to the Dollar Tree tomorrow- Wally World might even have some clearance deals right now too- since the holiday is over!
What a fantastic diy!! So great for you to share your ideas and talents!!!
Wow!!! I’m totally going to try this!!!! I wouldn’t never thought to use 2 hearts to make that adorable bow!! Thank you!!
Yes please. These are so adorbs! You are so talented