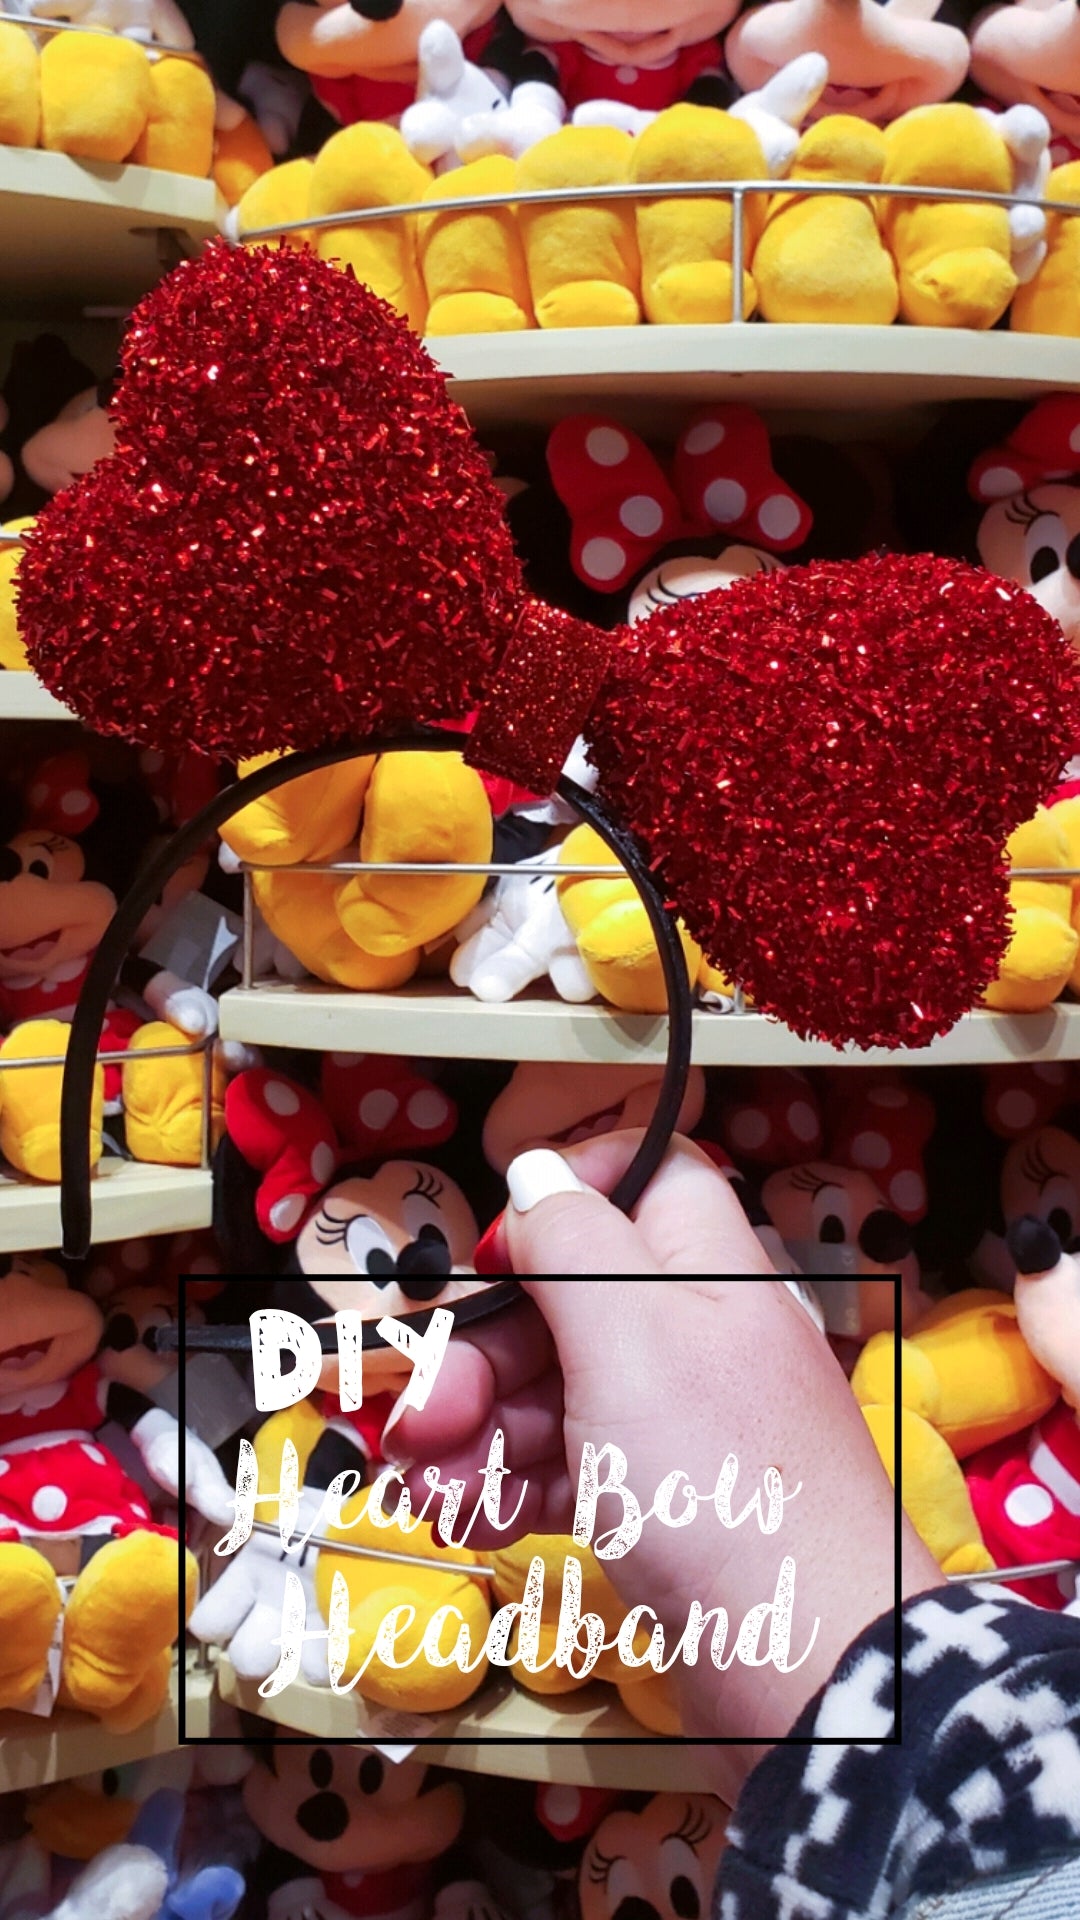
Would you believe me if I said my last blog post was exactly a year ago...Dramatic pause because I just realized how quickly the year went by. Last time I posted, it was Valentine's related, specifically a DIY and what do you know, I'm back with another one! This one is just as simple and affordable...just how I like my DIY's. Super cute for any V-day activities not just Disney.

Here's what you need:


First things first. Remove the pick from each heart and the ribbon that is attached. Don't throw away the pick!

Now grab one of the picks and carefully cut it with the wire cutter at about 2 inches.

Carefully, apply glue to one side of the headband. I had my bow tilted to the side, so I didn't have to measure the distance for each side. I eyeballed where it would look cute, applied the glue and held onto it for a few minutes.

Once it feels secured onto the headband add the pick that you cut into the bottom of the heart.

Then, eyeball where to apply more glue to the other side of the headband for the second heart. Make sure to insert the pick into the bottom of the second heart as you place it on the glue.

Once applied, hold onto it for a few minutes. This way the hearts are secured onto the headband.


Flip your headband upside down. Then add a little bit of hot glue to the inside of the headband, (directly in between the hearts) and add the ribbon.

Now loosely wrap the bow band for in between the hearts to create a bow look.


Once you are satisfied with the placement, cut the excess ribbon, and glue that end to the bottom of the headband. You should have created a loop in doing this.

$6 later and you have a cute headband to pair with a cute Valentine's Day look.


For this Valentines Day look. Click the link! I am always adding outfits to my Amazon Storefront.


1 comment
are you selling these???